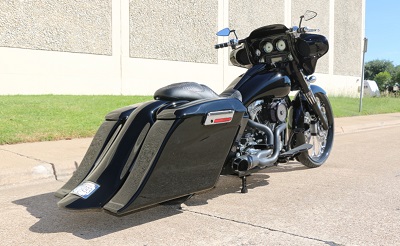
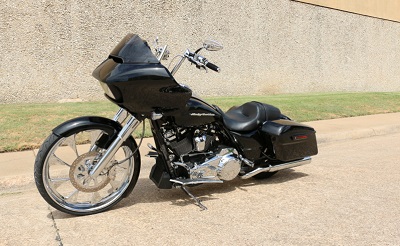
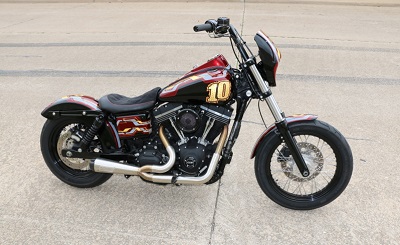
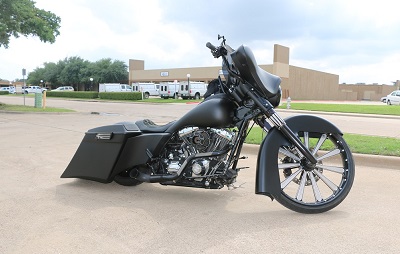
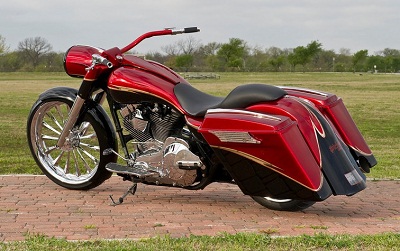
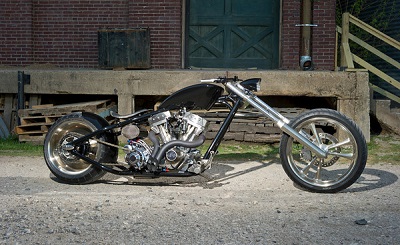
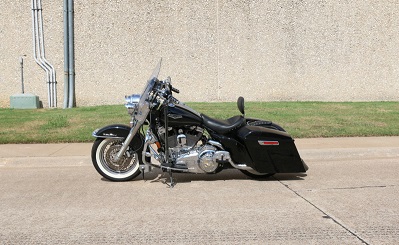
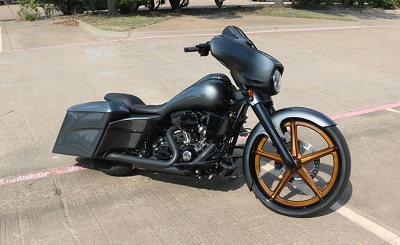
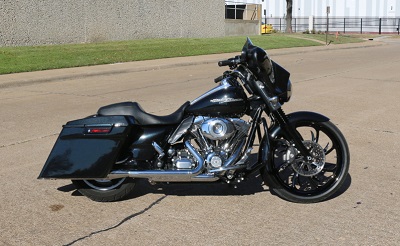
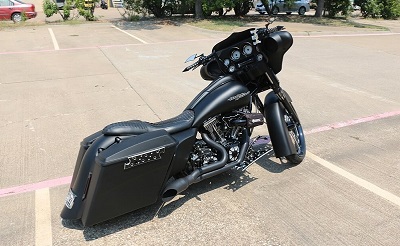
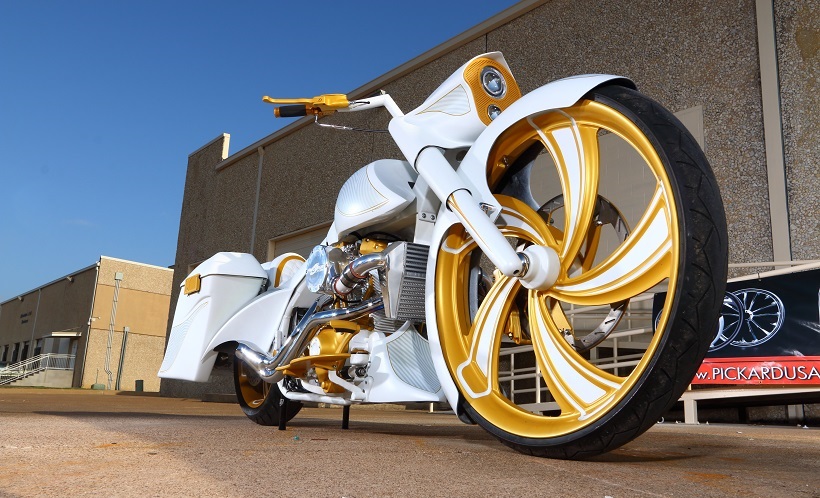
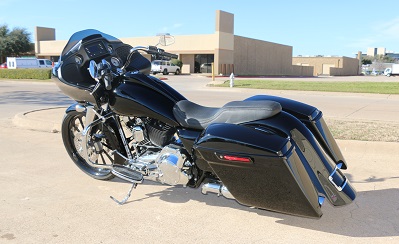
Harley Air Ride Suspension System For Custom Baggers
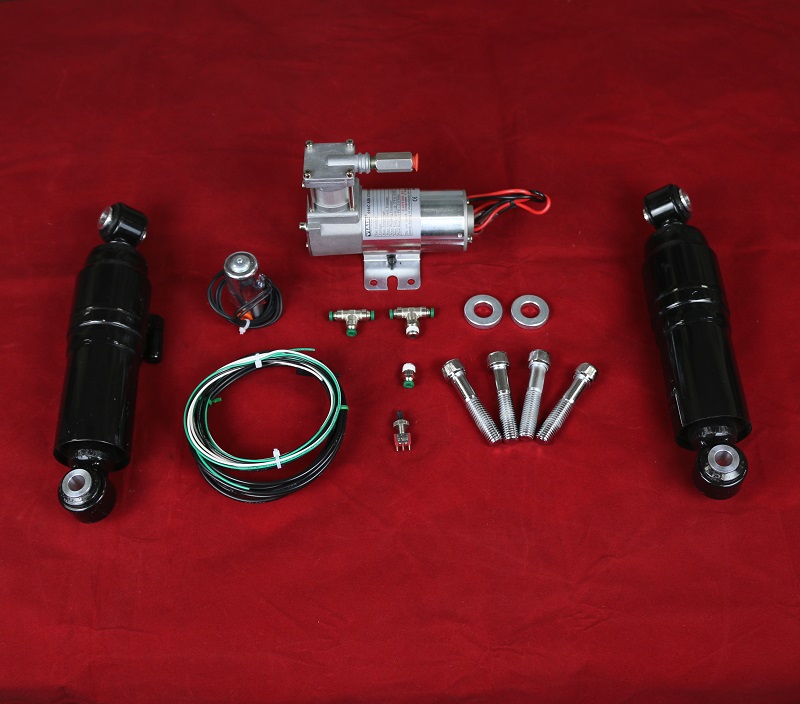
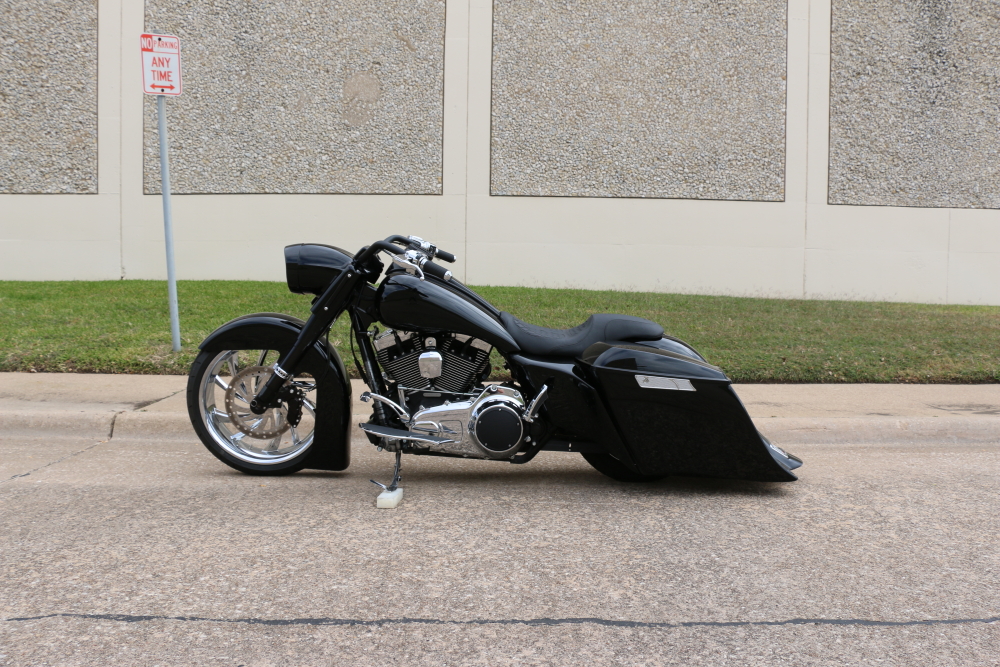
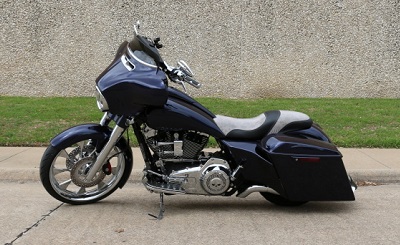
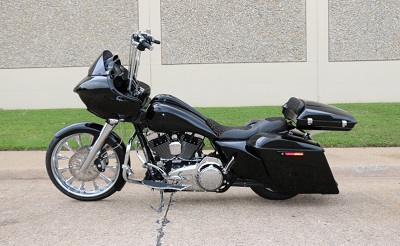
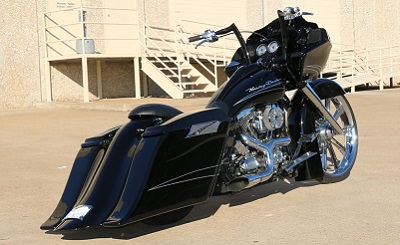
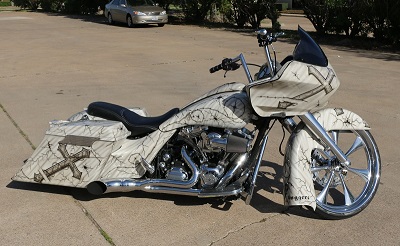
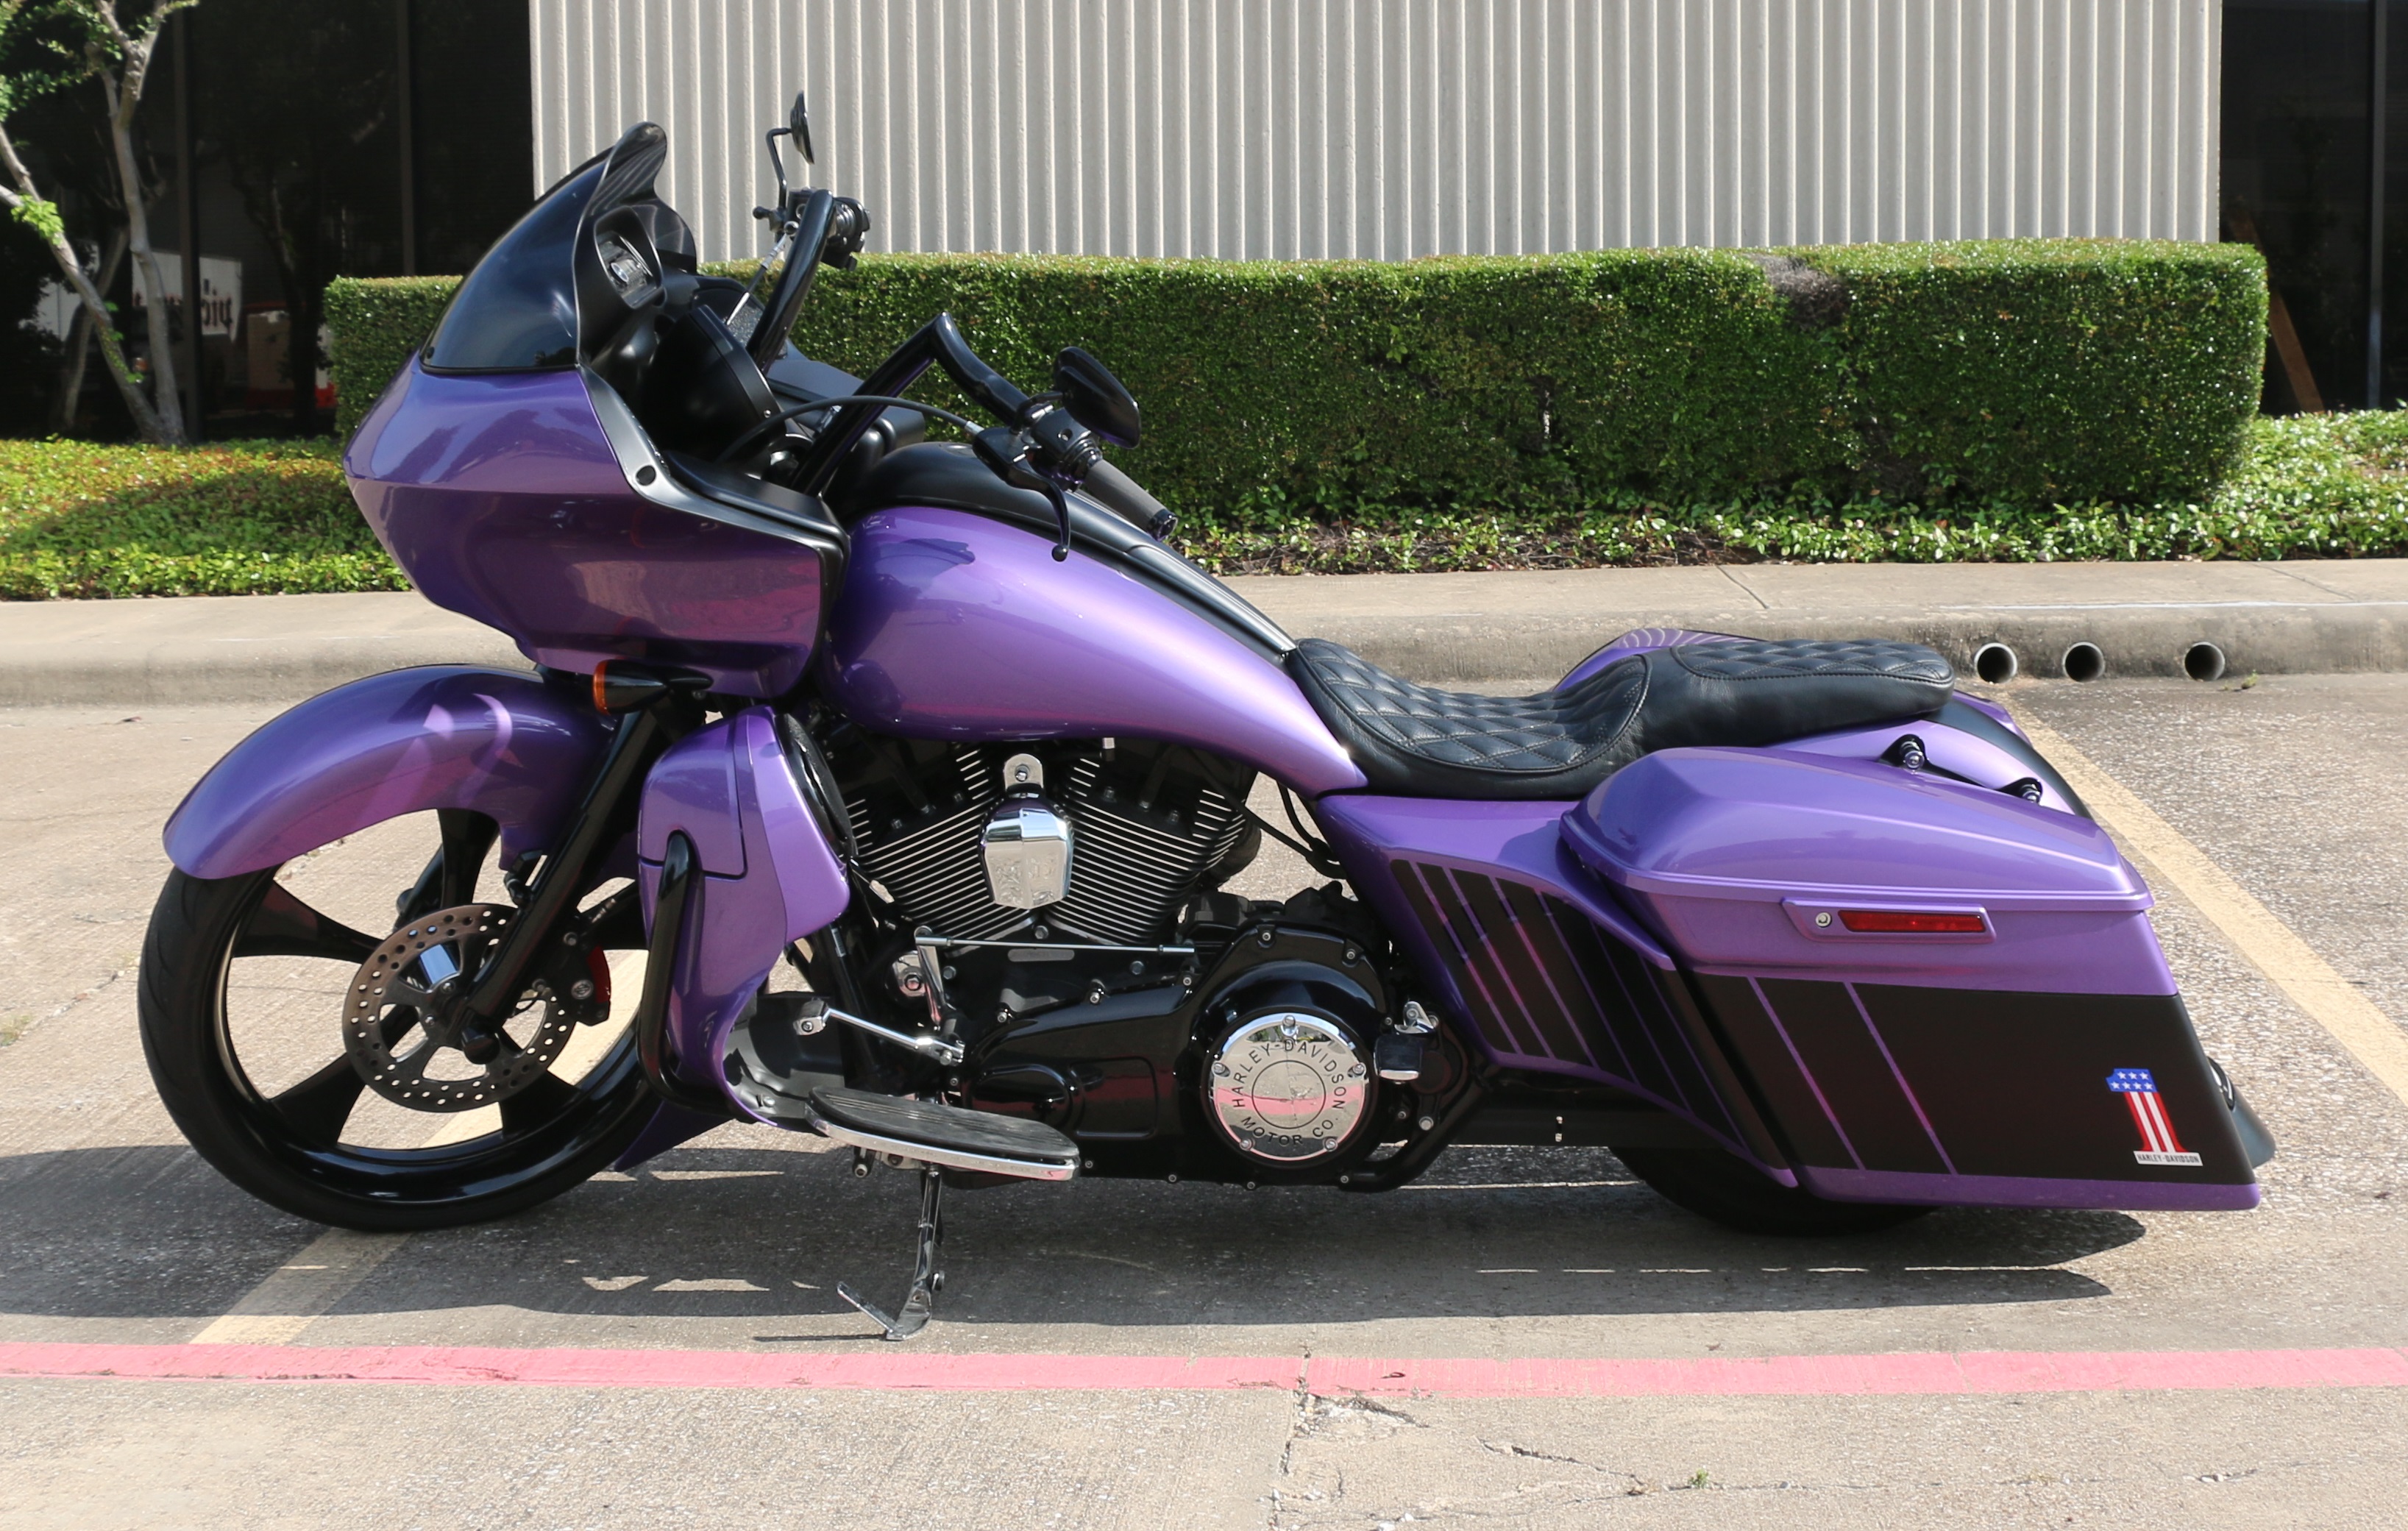
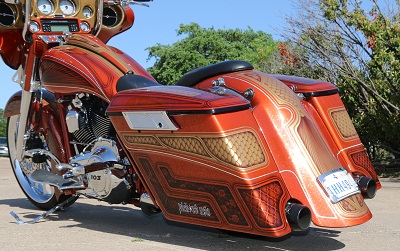
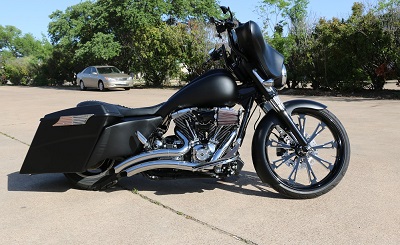
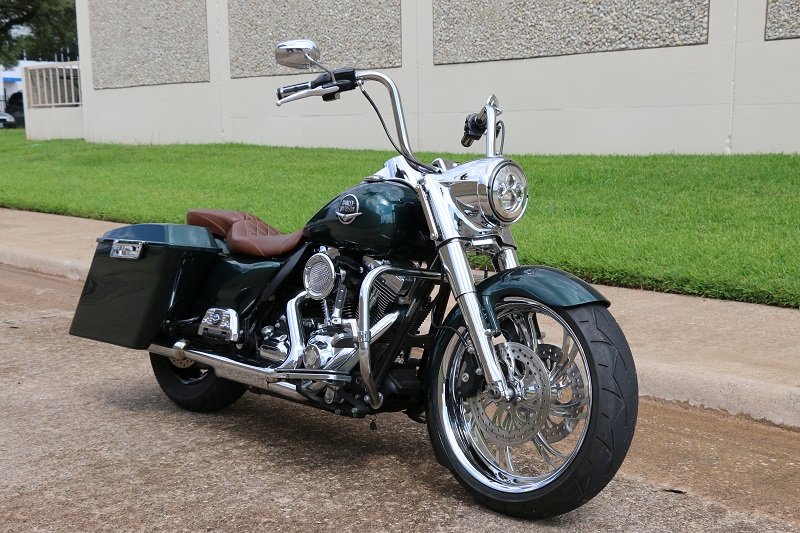
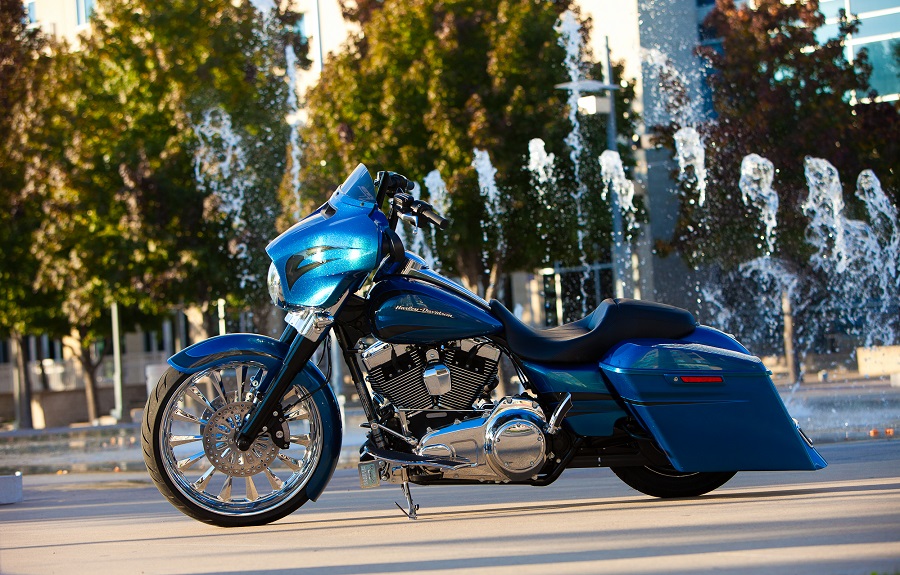
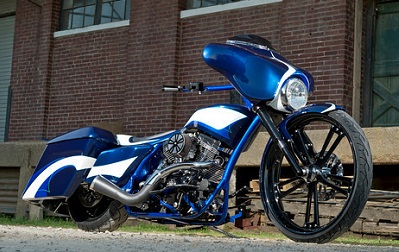
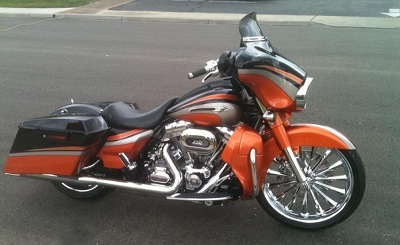
Our Lo-Blo rear air ride suspension kit is perfect for your Bagger or any other custom motorcycle build. This Harley air suspension system is designed with baggers in mind by providing a comfortable air ride experience. This is also an easy setup for builders that want the bike to lay frame.
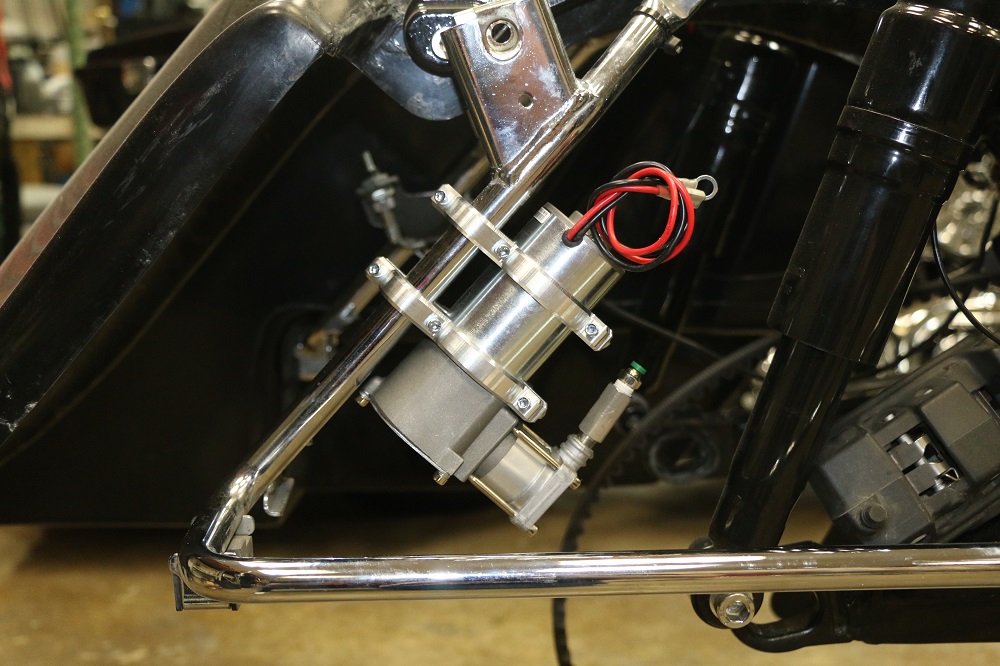
Hey I’m Jevon with Pickard USA and this is our rear air ride suspension kit for your Harley bagger.If you have extended bags on your custom motorcycle this air ride kit is a must. It gives you almost 5 inches of travel so you don’t have to worry about scraping your bags. These air shocks are set up where a 16 or 17 inch wheel can still roll when the shocks are fully collapsed. It’s a built-in safety feature in case you ever lose air while you’re riding. Our kit comes complete with a pair of shocks, machined bushing sleeves, compressor, solenoid, toggle switch, wires, mounting hardware and easy to follow instructions. Now I’m going to show you how to install a rear air ride kit. We’re going to start by removing the stock shocks from the frame. On the new air shock be sure to use the thick washer on the top and the thin washer on the bottom. Use the bolt supplied in the kit and make sure you use a dab of blue Loctite before securing it to the frame. With the washers in the correct position we can mount the shock to the frame. And we are going to repeat the same thing on the other side. Before mounting the compressor were going to install this straight airline fitting into the check valve. On non-ABS models the compressor can me mounted on the ABS tray which will require some trimming. For ABS models the compressor will be mounted in the front fairing. If you’ve got a Road Glide, check out our hidden fairing brackets for a clean installation. Now we are going to trim the battery tray. After we trim the tray we use a grinder to clean up the edges. And now we can drill the holes to mount your compressor. Once the holes are drilled you can mount the compressor bracket to the tray. Before mounting the solenoid we are going to install the t-fitting in the #2 port. I like to mount the solenoid underneath the tray so I will be drilling a hole in the top. Once the solenoid has been installed we can start plumbing the airlines. Before we attach the airline to the shock we need to trim it a quarter inch from the o-rings with a sharp blade for a nice clean cut. We’re going to install the airline to the shock. Using a wrench be careful not to over tighten the cap. We’re to repeat the same procedure on the other side. Cut a piece of line to connect the compressor to the solenoid on either side of the T. The next t-fitting feeds air to the shocks run a line from here to the solenoid. Route the lines from the shocks up to the t to complete the air ride plumbing. The kit comes with a pre-wired toggle switch green goes to the solenoid, black goes to the battery negative and white goes to the compressor. The solenoid comes with two wires. The one with the red heat shrink goes to the batteries positive and the other one connects to the green toggle switch wire. The compressor has two wires the red one goes to the batteries positive terminal the black one connects to the white toggle switch wire. Once you’ve got all your wires connected test your toggle switch and make sure the compressor and the solenoid are working. Be sure to ask about our fast air tank kit for an instant ride setup. If you have any questions about our air ride kit give us a call and we’ll be happy to help.
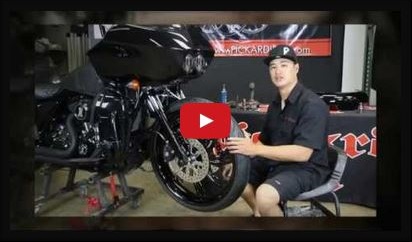
Bolt On Triple Tree Installation 23" Wheel 2013 And Down
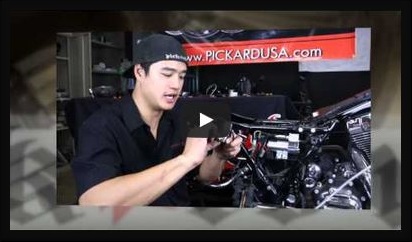
Harley Air Ride Suspension System Custom Baggers
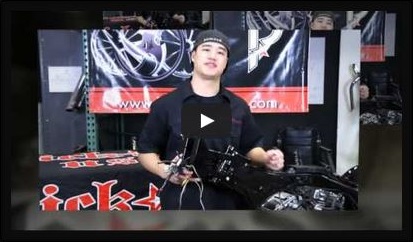
Harley Raked Inner Fairing Support Bracket 2013 And Down
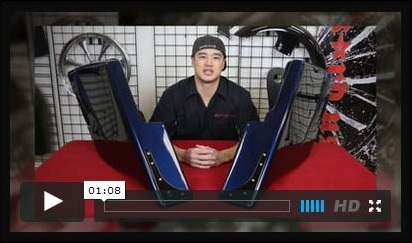
Skid Plates For Harley Saddlebags On Custom Baggers
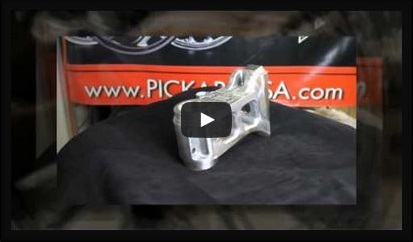
Harley Short Neck Rake Kit 26 Inch And 30 Inch Big Wheel Baggers
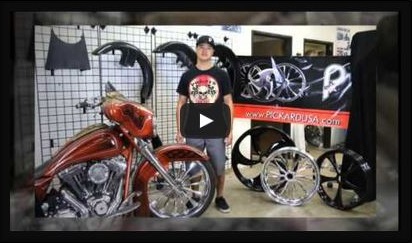
Harley 23 Inch Wheel Front End Kit For Baggers
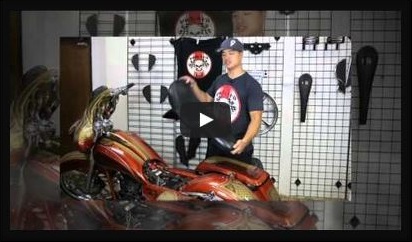
Custom Seat Pan For 2009 And Up Harley Baggers
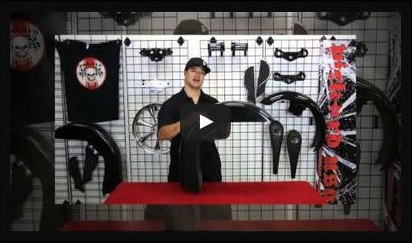
Custom Front Fender For Harley Baggers - Hustler
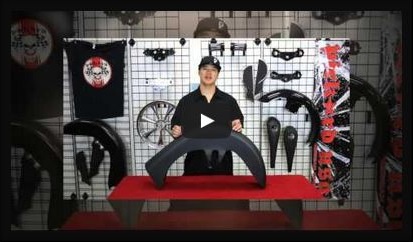
Harley Front Fenders For Custom Baggers - Gold Digger

Harley Air Solenoid Bracket For Custom Baggers

Harley Air Ride Suspension System Custom Baggers

Harley Raked Inner Fairing Support Bracket 2013 And Down

Skid Plates For Harley Saddlebags On Custom Baggers

Harley Short Neck Rake Kit 26 Inch And 30 Inch Big Wheel Baggers

Harley 23 Inch Wheel Front End Kit For Baggers

Custom Seat Pan For 2009 And Up Harley Baggers

Custom Front Fender For Harley Baggers - Hustler

Harley Front Fenders For Custom Baggers - Gold Digger

Harley Air Solenoid Bracket For Custom Baggers

Harley Raked Inner Fairing Support Bracket 2013 And Down

Skid Plates For Harley Saddlebags On Custom Baggers

Harley Short Neck Rake Kit 26 Inch And 30 Inch Big Wheel Baggers

Harley 23 Inch Wheel Front End Kit For Baggers

Custom Seat Pan For 2009 And Up Harley Baggers

Custom Front Fender For Harley Baggers - Hustler

Harley Front Fenders For Custom Baggers - Gold Digger

Harley Air Solenoid Bracket For Custom Baggers

Skid Plates For Harley Saddlebags On Custom Baggers

Harley Short Neck Rake Kit 26 Inch And 30 Inch Big Wheel Baggers

Harley 23 Inch Wheel Front End Kit For Baggers

Custom Seat Pan For 2009 And Up Harley Baggers

Custom Front Fender For Harley Baggers - Hustler

Harley Front Fenders For Custom Baggers - Gold Digger

Harley Air Solenoid Bracket For Custom Baggers

Harley Short Neck Rake Kit 26 Inch And 30 Inch Big Wheel Baggers

Harley 23 Inch Wheel Front End Kit For Baggers

Custom Seat Pan For 2009 And Up Harley Baggers

Custom Front Fender For Harley Baggers - Hustler

Harley Front Fenders For Custom Baggers - Gold Digger

Harley Air Solenoid Bracket For Custom Baggers

Harley 23 Inch Wheel Front End Kit For Baggers

Custom Seat Pan For 2009 And Up Harley Baggers

Custom Front Fender For Harley Baggers - Hustler

Harley Front Fenders For Custom Baggers - Gold Digger

Harley Air Solenoid Bracket For Custom Baggers

Custom Seat Pan For 2009 And Up Harley Baggers

Custom Front Fender For Harley Baggers - Hustler

Harley Front Fenders For Custom Baggers - Gold Digger

Harley Air Solenoid Bracket For Custom Baggers

Custom Front Fender For Harley Baggers - Hustler

Harley Front Fenders For Custom Baggers - Gold Digger

Harley Air Solenoid Bracket For Custom Baggers

Harley Front Fenders For Custom Baggers - Gold Digger

Harley Air Solenoid Bracket For Custom Baggers

Harley Air Solenoid Bracket For Custom Baggers
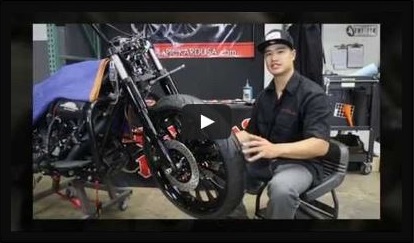
Bolt On Triple Tree Installation 23 Inch Wheel 2014 And Up Models
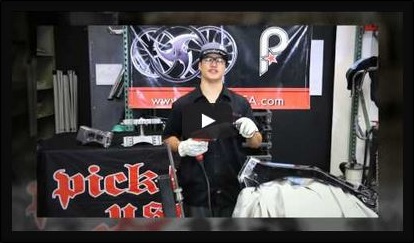
Harley Short Neck Rake Kit For 26" & 30" Wheel Baggers 09 & Up
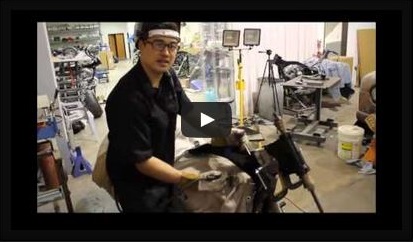
How To Rake A Harley Neck 09 & Up Models
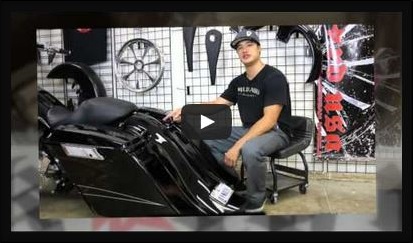
Swag Bags Rear End Kit For Custom Harley Baggers
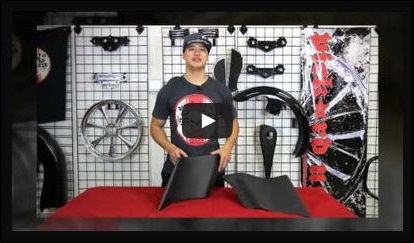
Extended Custom Side Covers For Harley Baggers
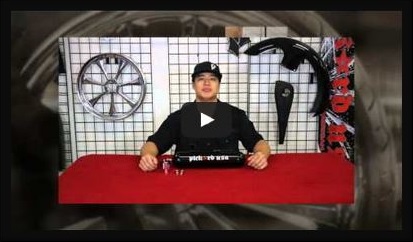
Air Tank For Harley Air Ride Suspension System
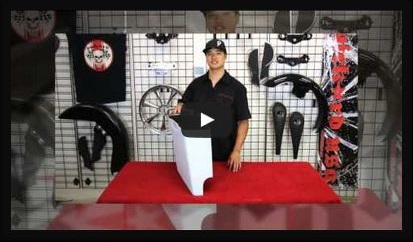
Extended Saddlebags For Custom Harley Baggers
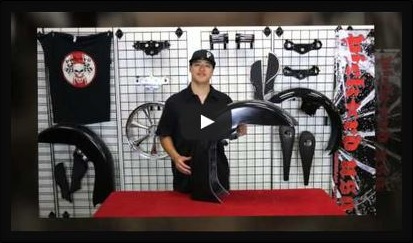
Front Fender For Custom Harley Baggers High Roller
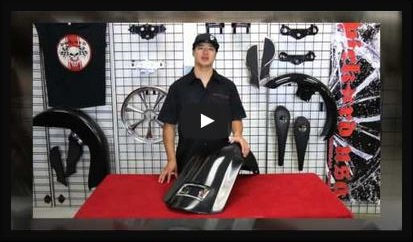
Custom Rear Harley Fender For Baggers
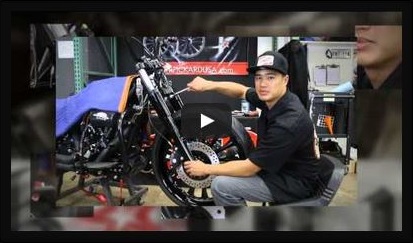
How To Set Harley Front End Play

Harley Short Neck Rake Kit For 26" & 30" Wheel Baggers 09 & Up

How To Rake A Harley Neck 09 & Up Models

Swag Bags Rear End Kit For Custom Harley Baggers

Extended Custom Side Covers For Harley Baggers

Air Tank For Harley Air Ride Suspension System

Extended Saddlebags For Custom Harley Baggers

Front Fender For Custom Harley Baggers High Roller

Custom Rear Harley Fender For Baggers

How To Set Harley Front End Play

How To Rake A Harley Neck 09 & Up Models

Swag Bags Rear End Kit For Custom Harley Baggers

Extended Custom Side Covers For Harley Baggers

Air Tank For Harley Air Ride Suspension System

Extended Saddlebags For Custom Harley Baggers

Front Fender For Custom Harley Baggers High Roller

Custom Rear Harley Fender For Baggers

How To Set Harley Front End Play

Swag Bags Rear End Kit For Custom Harley Baggers

Extended Custom Side Covers For Harley Baggers

Air Tank For Harley Air Ride Suspension System

Extended Saddlebags For Custom Harley Baggers

Front Fender For Custom Harley Baggers High Roller

Custom Rear Harley Fender For Baggers

How To Set Harley Front End Play

Extended Custom Side Covers For Harley Baggers

Air Tank For Harley Air Ride Suspension System

Extended Saddlebags For Custom Harley Baggers

Front Fender For Custom Harley Baggers High Roller

Custom Rear Harley Fender For Baggers

How To Set Harley Front End Play

Air Tank For Harley Air Ride Suspension System

Extended Saddlebags For Custom Harley Baggers

Front Fender For Custom Harley Baggers High Roller

Custom Rear Harley Fender For Baggers

How To Set Harley Front End Play

Extended Saddlebags For Custom Harley Baggers

Front Fender For Custom Harley Baggers High Roller

Custom Rear Harley Fender For Baggers

How To Set Harley Front End Play

Front Fender For Custom Harley Baggers High Roller

Custom Rear Harley Fender For Baggers

How To Set Harley Front End Play

Custom Rear Harley Fender For Baggers

How To Set Harley Front End Play

How To Set Harley Front End Play
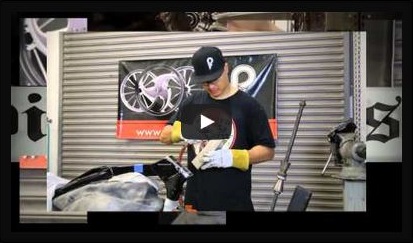
How To Rake A Harley Neck And Modify Trail
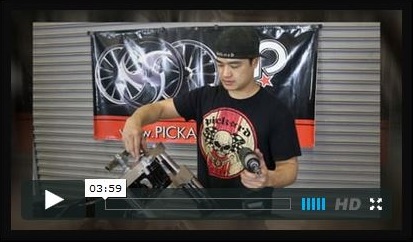
Harley Triple Tree / Short Neck 09 To 14 Models
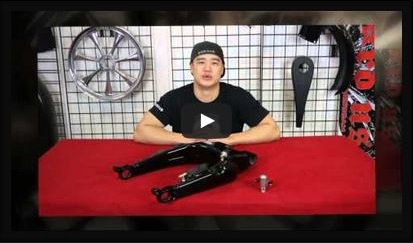
Swing Arm Air Tank For Air Ride Suspension Systems
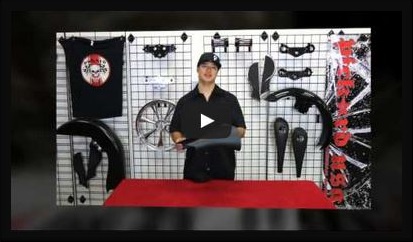
Harley Gas Tank Extensions For Custom Baggers
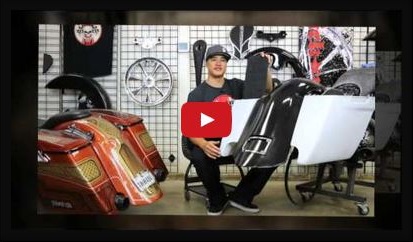
Harley Rear End Kit Overview For Custom Baggers
Harley 9 Degree Triple Trees For 26 Inch Wheel
Custom Latch Covers For Harley Saddlebags
Cut Throat Front Fender For Custom Harley Baggers
Hidden Fairing Support Brackets For Harley Road Glide

Harley Triple Tree / Short Neck 09 To 14 Models

Swing Arm Air Tank For Air Ride Suspension Systems

Harley Gas Tank Extensions For Custom Baggers

Harley Rear End Kit Overview For Custom Baggers

Harley 9 Degree Triple Trees For 26 Inch Wheel

Custom Latch Covers For Harley Saddlebags

Cut Throat Front Fender For Custom Harley Baggers

Hidden Fairing Support Brackets For Harley Road Glide

Swing Arm Air Tank For Air Ride Suspension Systems

Harley Gas Tank Extensions For Custom Baggers

Harley Rear End Kit Overview For Custom Baggers

Harley 9 Degree Triple Trees For 26 Inch Wheel

Custom Latch Covers For Harley Saddlebags

Cut Throat Front Fender For Custom Harley Baggers

Hidden Fairing Support Brackets For Harley Road Glide

Harley Gas Tank Extensions For Custom Baggers

Harley Rear End Kit Overview For Custom Baggers

Harley 9 Degree Triple Trees For 26 Inch Wheel

Custom Latch Covers For Harley Saddlebags

Cut Throat Front Fender For Custom Harley Baggers

Hidden Fairing Support Brackets For Harley Road Glide

Harley Rear End Kit Overview For Custom Baggers

Harley 9 Degree Triple Trees For 26 Inch Wheel

Custom Latch Covers For Harley Saddlebags

Cut Throat Front Fender For Custom Harley Baggers

Hidden Fairing Support Brackets For Harley Road Glide

Harley 9 Degree Triple Trees For 26 Inch Wheel

Custom Latch Covers For Harley Saddlebags

Cut Throat Front Fender For Custom Harley Baggers

Hidden Fairing Support Brackets For Harley Road Glide

Custom Latch Covers For Harley Saddlebags

Cut Throat Front Fender For Custom Harley Baggers

Hidden Fairing Support Brackets For Harley Road Glide

Cut Throat Front Fender For Custom Harley Baggers

Hidden Fairing Support Brackets For Harley Road Glide


